Back in May, we had a flurry of activity- so many of our projects started construction! Spring, summer and into fall is the perfect time for building. One of our clients was diligent in documenting the process (since she’s “on site” everyday) and generously shared photos with us. We’re sharing with you, so as an owner of a home or a business, you can understand some of the steps of the construction process and the decision making that is required along the way.
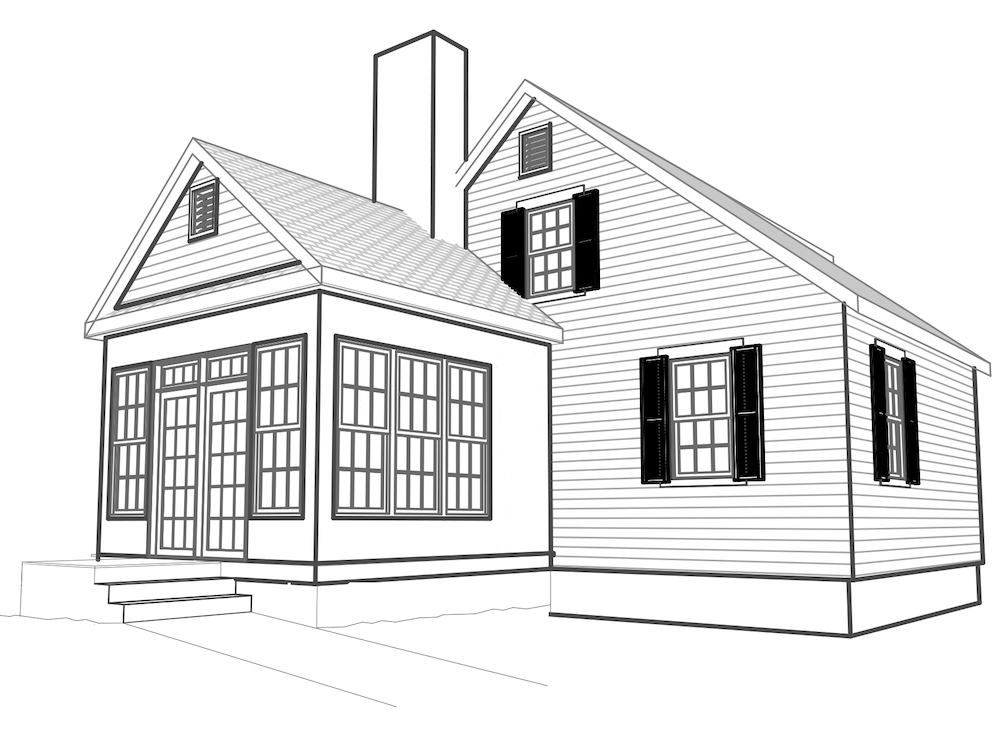
This family wanted to convert their existing covered porch into a sunroom. After a long town review process involving a variance on a non-conforming lot, we had approval of the drawings.
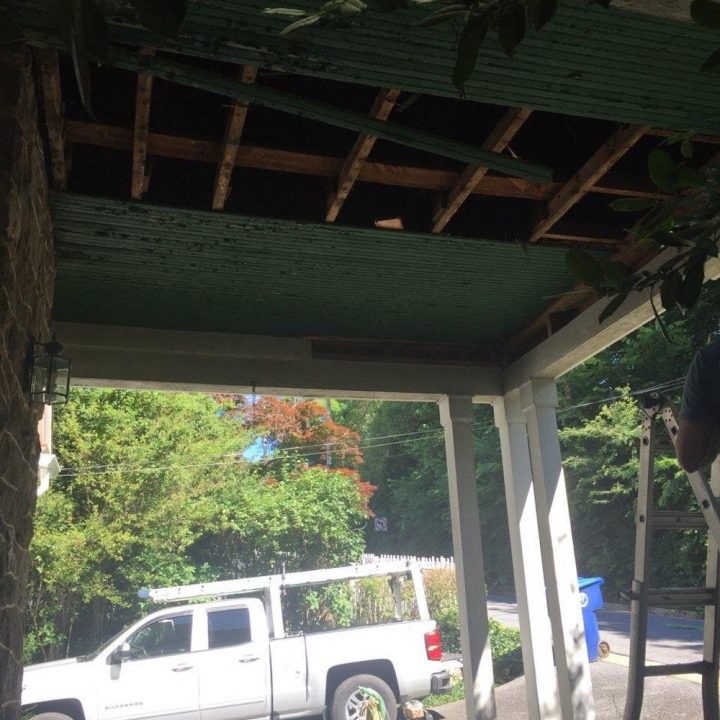
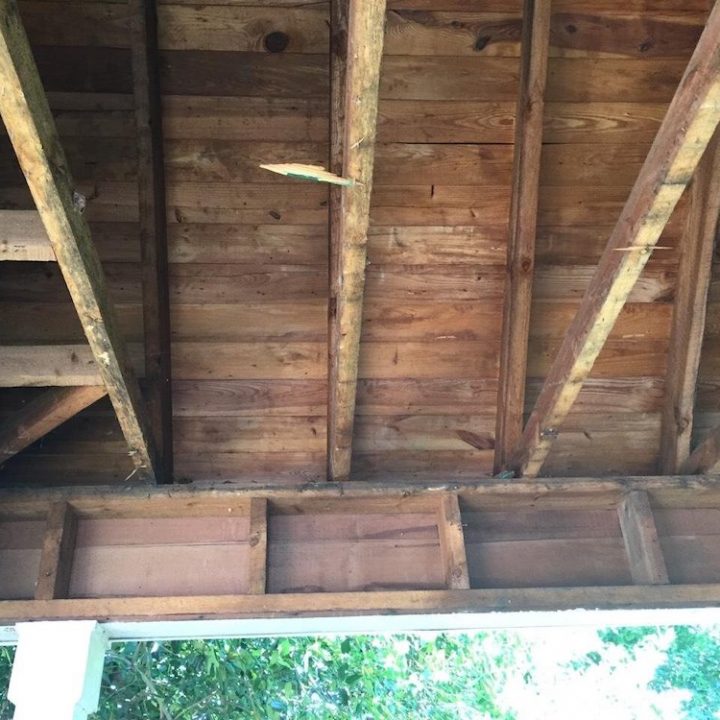
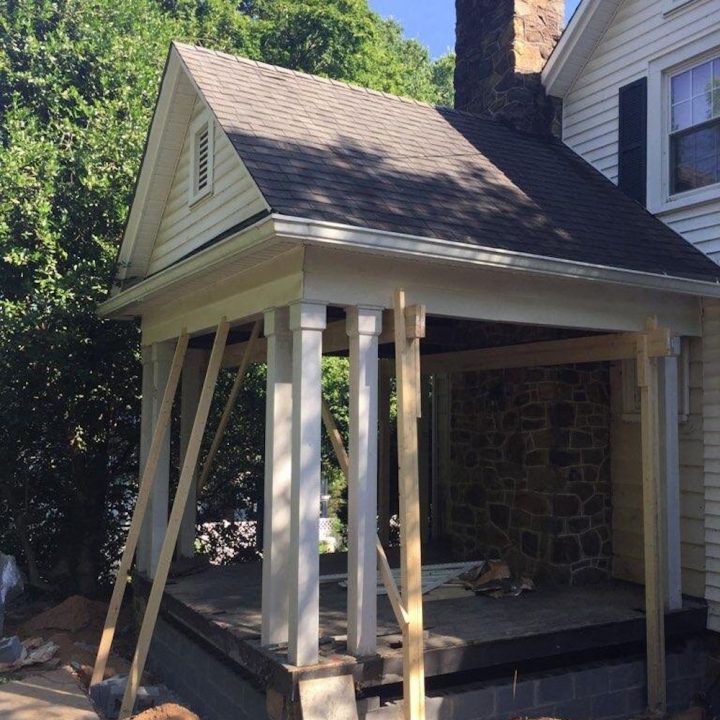
June 12th, construction began with demolition! The Contractor pulled off the existing finishes to expose the structure of the floor and the roof — both of which we could keep to create the room enclosure.
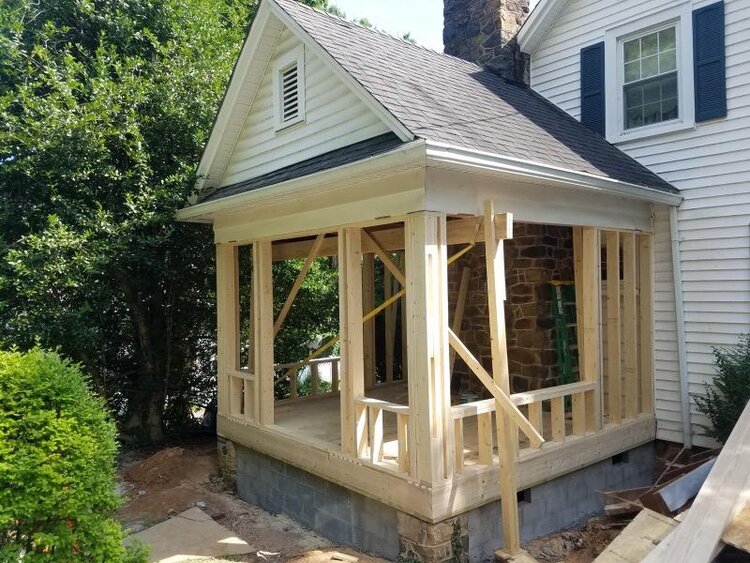
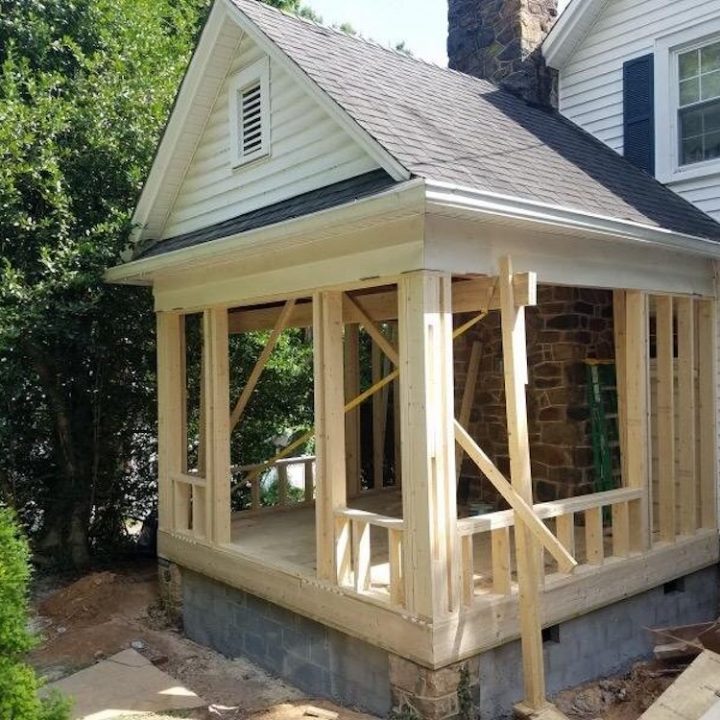
During demolition, the Contractor needed to stabilize the roof framing with extra bracing for safety. We enclosed the existing space under the porch with foundation walls to create a new crawlspace and to reinforce the piers at the corners. This gives us a sound base and top to work within.
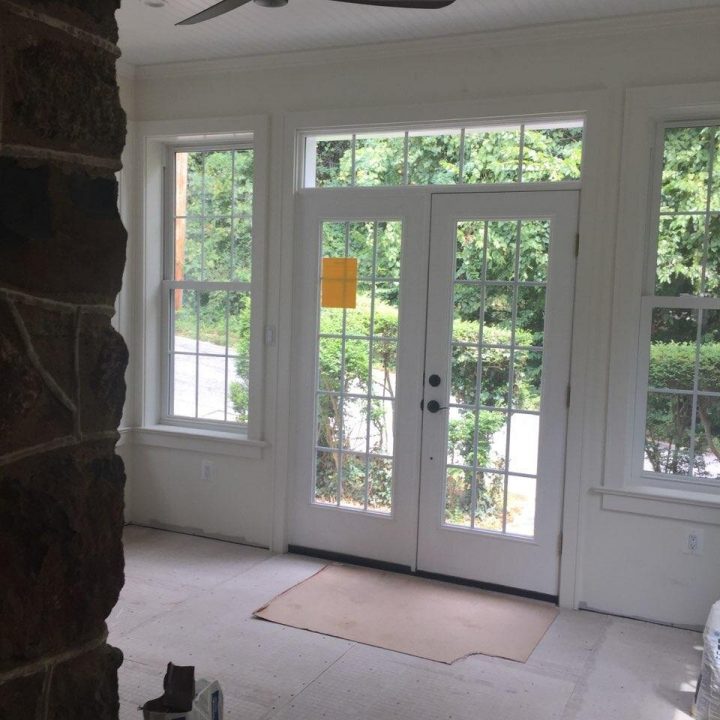
Next, framing of windows and walls happened and then, suddenly, it starts to look like a room! We carefully selected the window sizes to work evenly within the existing wall length (always nice to have odd-numbered groupings) and match up the height with the existing windows in the original home. This makes for a balanced, comfortable sunroom.
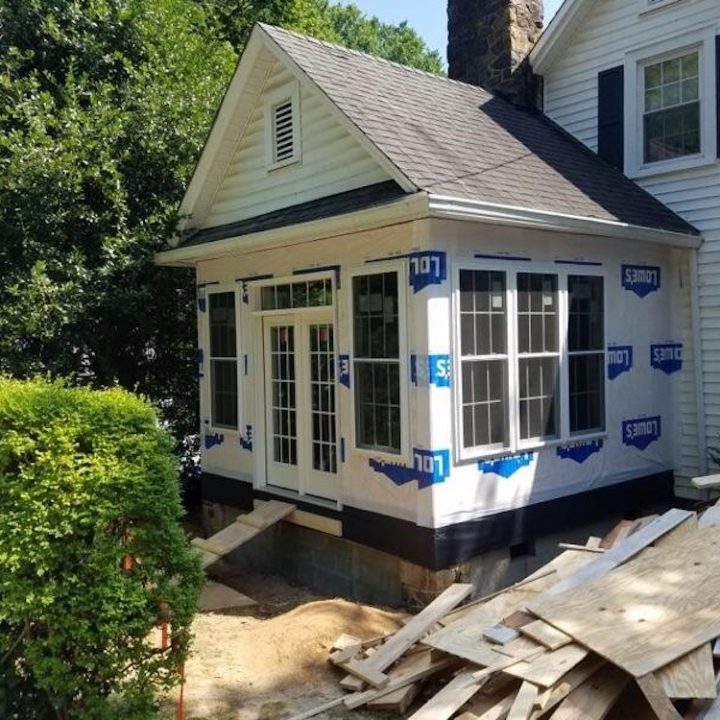
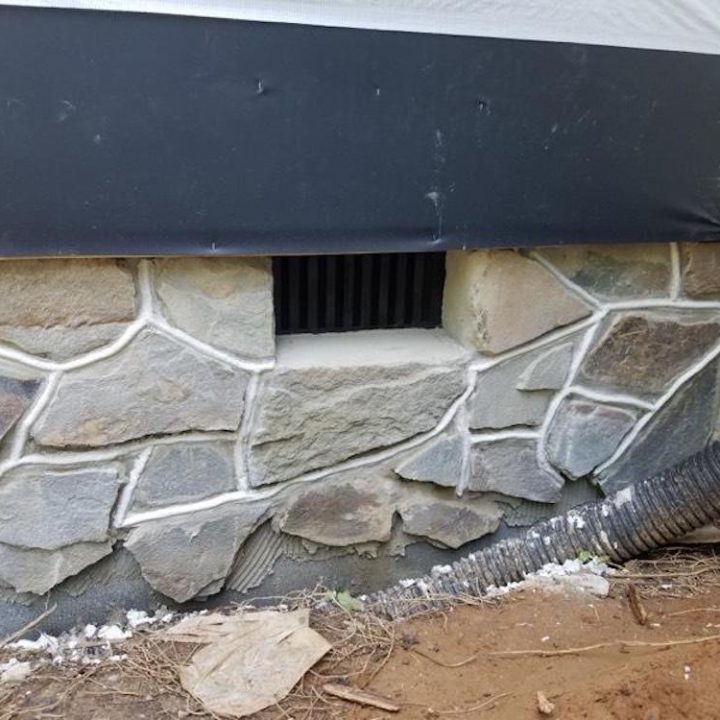
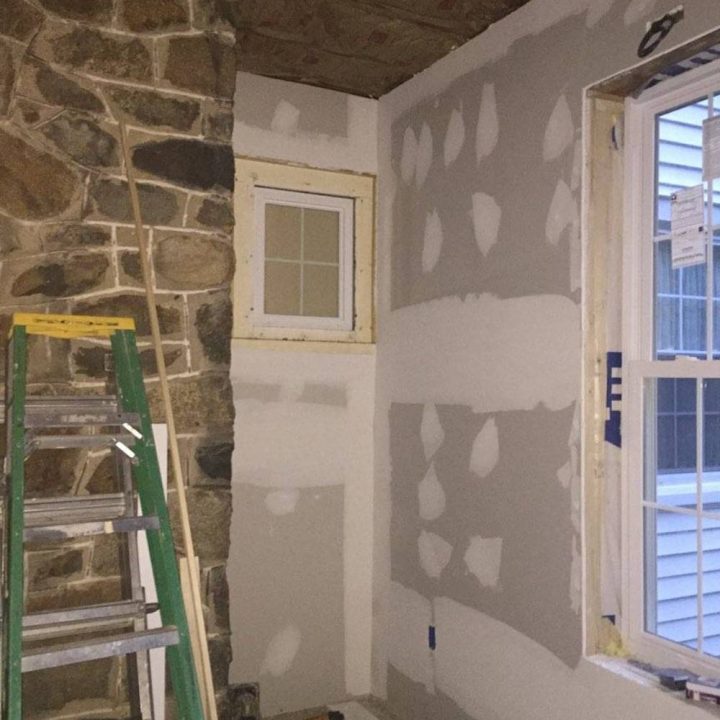
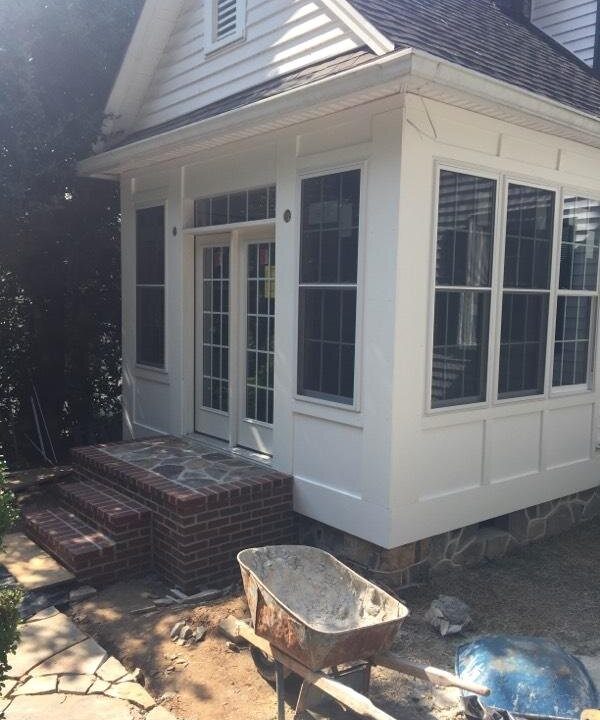
Less than a month later, the sunroom is weather protected and small details to match the existing home are starting to take shape. The homeowner and Contractor selected faux stone to match the existing stone on the original home. Small details like preserving the old windows into the former porch make the custom design sing.
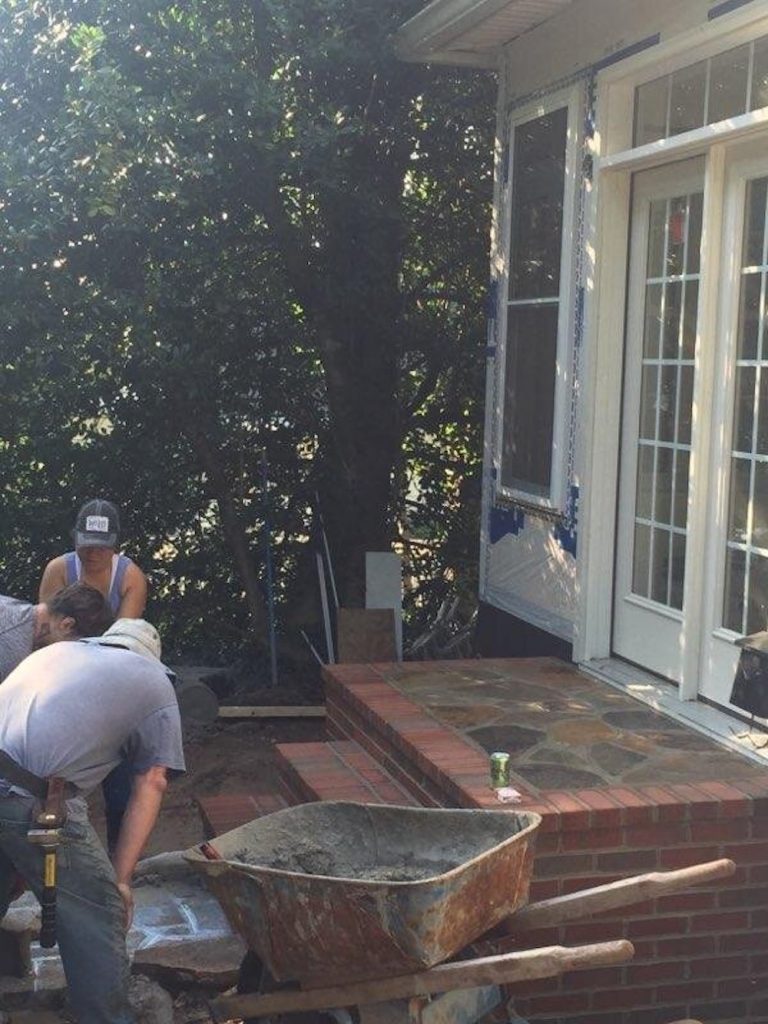
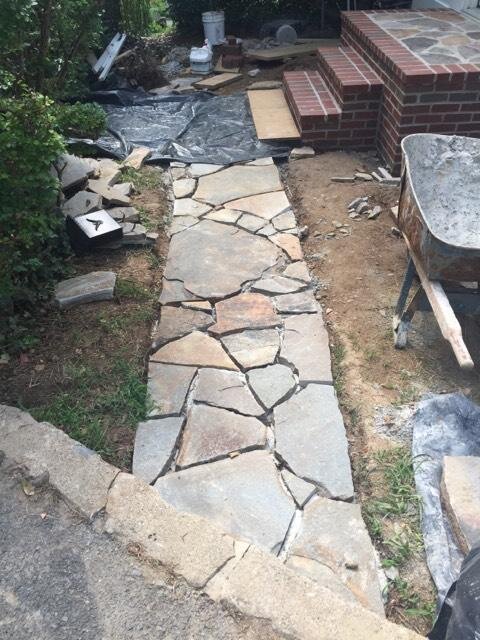
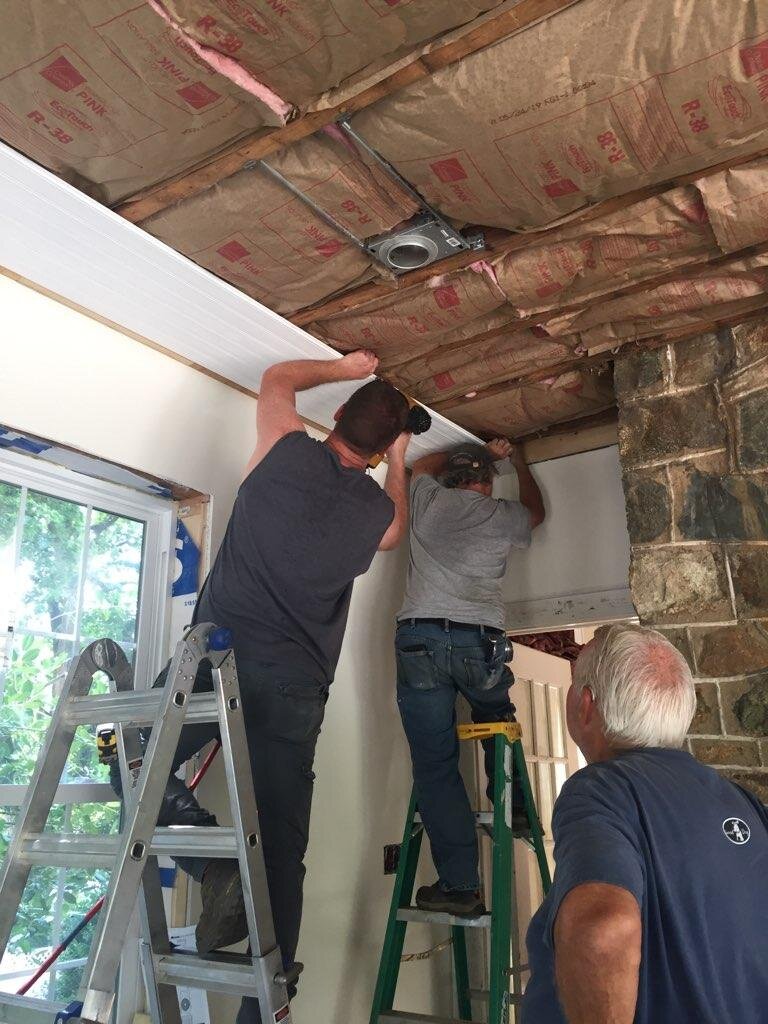
Now that the room is “dry”, the Contractor’s team can start installing finishes. A beautiful brick and stone stoop and walkway leading to both the street and driveway invites visitors inside and makes a stable path outside for the Homeowners carrying groceries. The crew is also busy preparing for tile floors and a bead board ceiling. Getting the insulation installed with the grid of ceiling lights is an important detail.
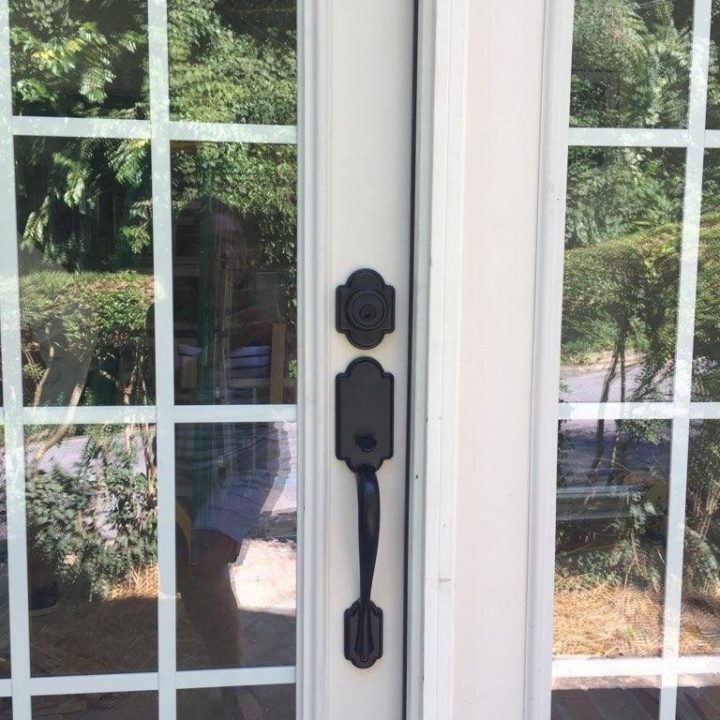
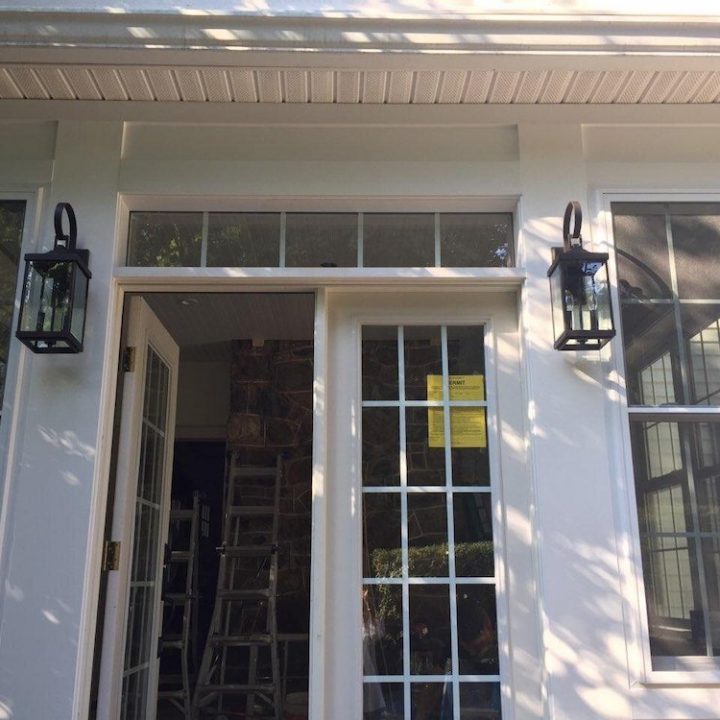
The siding: a beautiful combination of trim and square panels under the windows are coming together outside. Then the fun begins: picking hardware! Oil-rubbed bronze door handles, carriage-style lanterns and the ceiling fan add classic glam to this room.
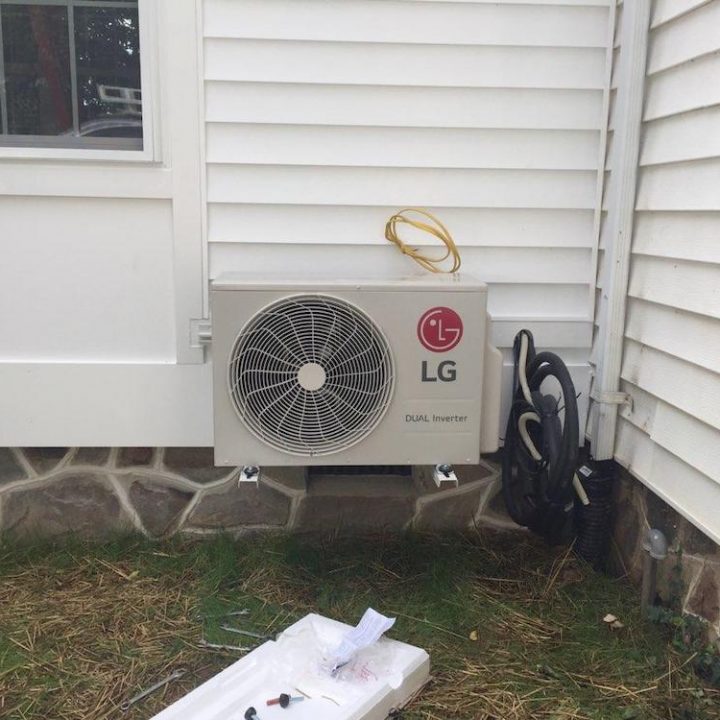
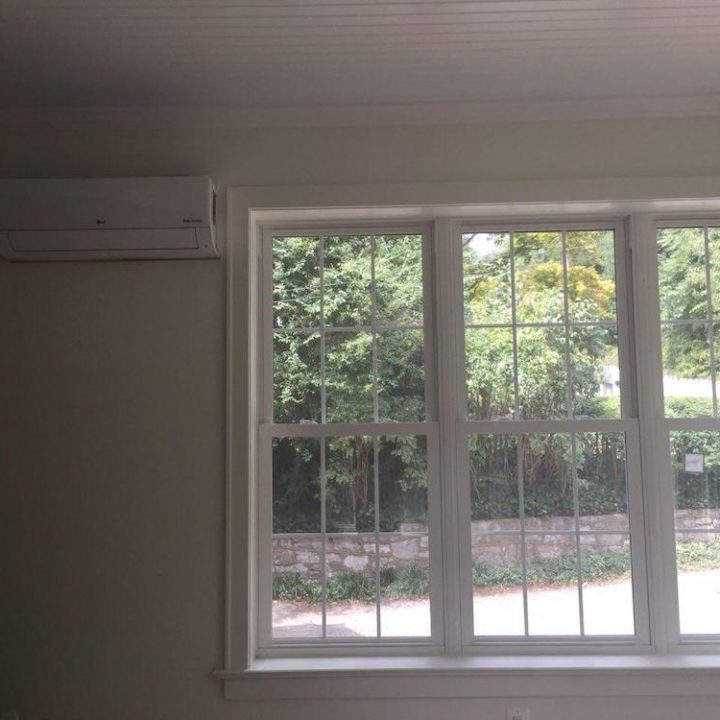
Even the pragmatic details: the heating and cooling require careful consideration inside and outside. Here we see the mini-split (a small, super efficient heat pump) with a unit installed in an out of the way corner outside and as unobtrusively as possible (yet high to the ceiling) inside.
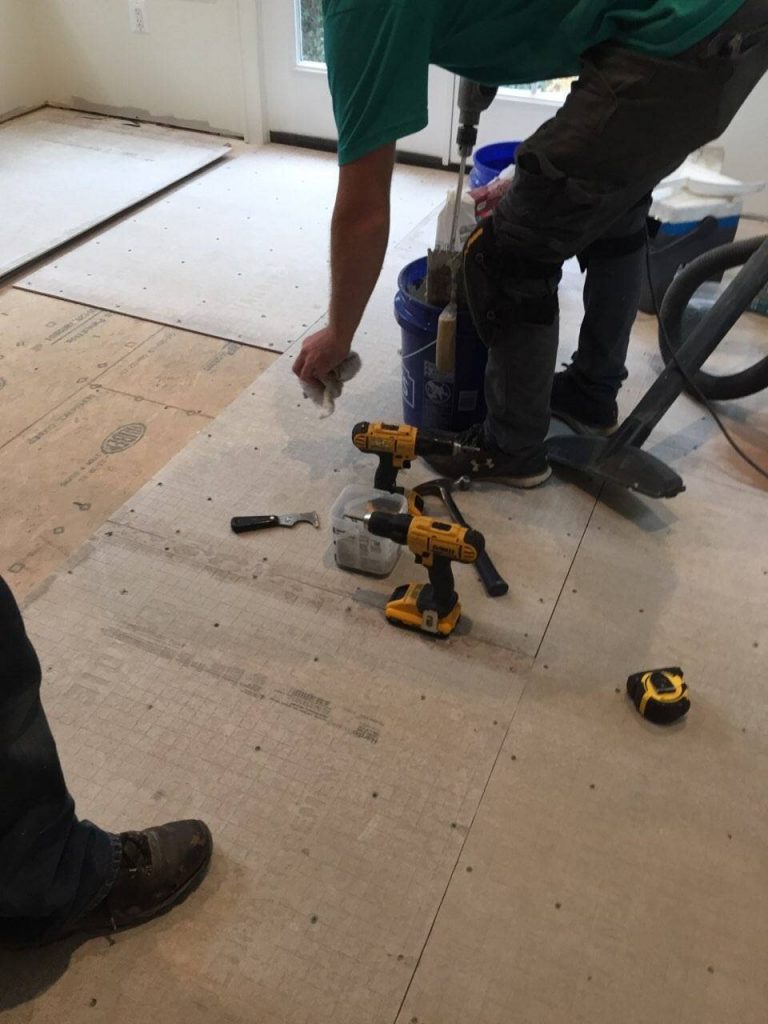
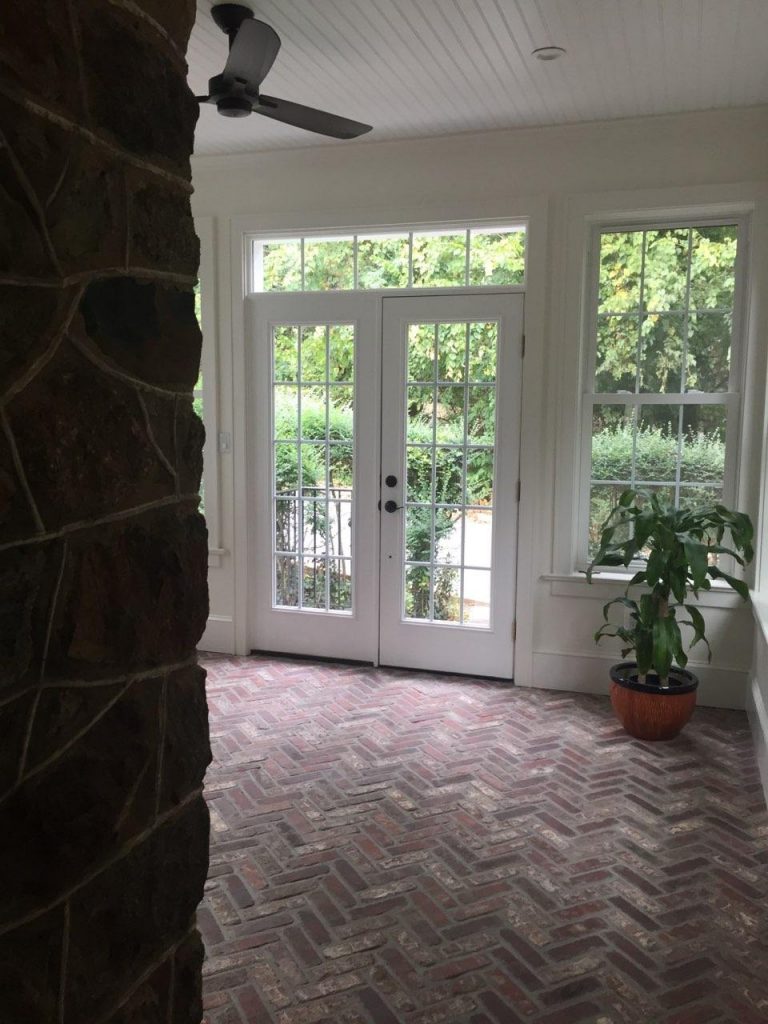
The finished product, ready to move in! The bulk of the work was completed on this project around August 21st (less than 10 weeks!), but the final flooring wasn’t ready for a few more weeks. The rough brick pavers on the floor beautifully compliment the stone inside and serve as a transition from outdoor to indoor space (with wood floors) — worth the wait. Even the grass seed has grown in — this addition feels like a part of the house now.
We can see how from drawings to finished form how the vision came together. Construction is stressful at times, but with careful consideration of the finishing details, your project can really shine. Ask me how we can help you with your renovation, addition or new construction project to make your own custom project shine!